From old to new. Creating a wardrobe with style :)
So, finally the secret is out... the old IKEA wardrobe that saw H through her teenage years has been re-imagined and re-crafted to give it a vintage twist.
I would have blogged as I went along, as it took some time, but it was a surprise i wasn't expecting to reveal for quite some time. However, H ended up surprising me too (from the other side of the world!) and the reveal came sooner than I thought.
So, the old PAX wardrobe, with laminated chipboard, was ok but not quite right for what we would like. Wardrobes are so expensive and nowhere near as tall or a spacious as this one. I had to do something - or at least try. I had nothing to lose.
I decided that I wanted to paint it with chalk paint. I already had cream and green from a previous project, but that fitted the room beautifully. I wanted to create a vintage travel "mash" througnout the room.
I had already sewn a Roman blind using Laura Ashley's Garden Birds fabric...

It opened up the room, which had previously had curtains across the window wall. Now there was extra wall space for un-hung pictures. The blue curtain pole was also chalk painted and sanded back to soften the blue.

As you will see, the walls and picture rail of the room were already cream and green. I only really wanted to freshen it up and it was more about the furniture and providing extra space by removing a set of drawers and adding additional storage in the wardrobe for the contents of them (a real challenge for the mum of a daughter who hoards!).
Now to the wardrobe. Sadly, I forgot to take a photo before I hit the paint pots, but you will see the laminate as I post the step by step progress. I removed the glass doors before I started.
I was dubious that I could paint on laminate, but YES YOU CAN! Just a light sand to help with grip, then paint away...

Green was my undercolour. I had sanded with a hand held sander, using a light weight sheet. It was much quicker. I also didnt fuss if I missed bits. It made no difference to the outcome.
Painting was easy and coverage was ok too. At the end of the day, the undercolour was there to peek through the top coat, so again, if patchy, it didn't matter.

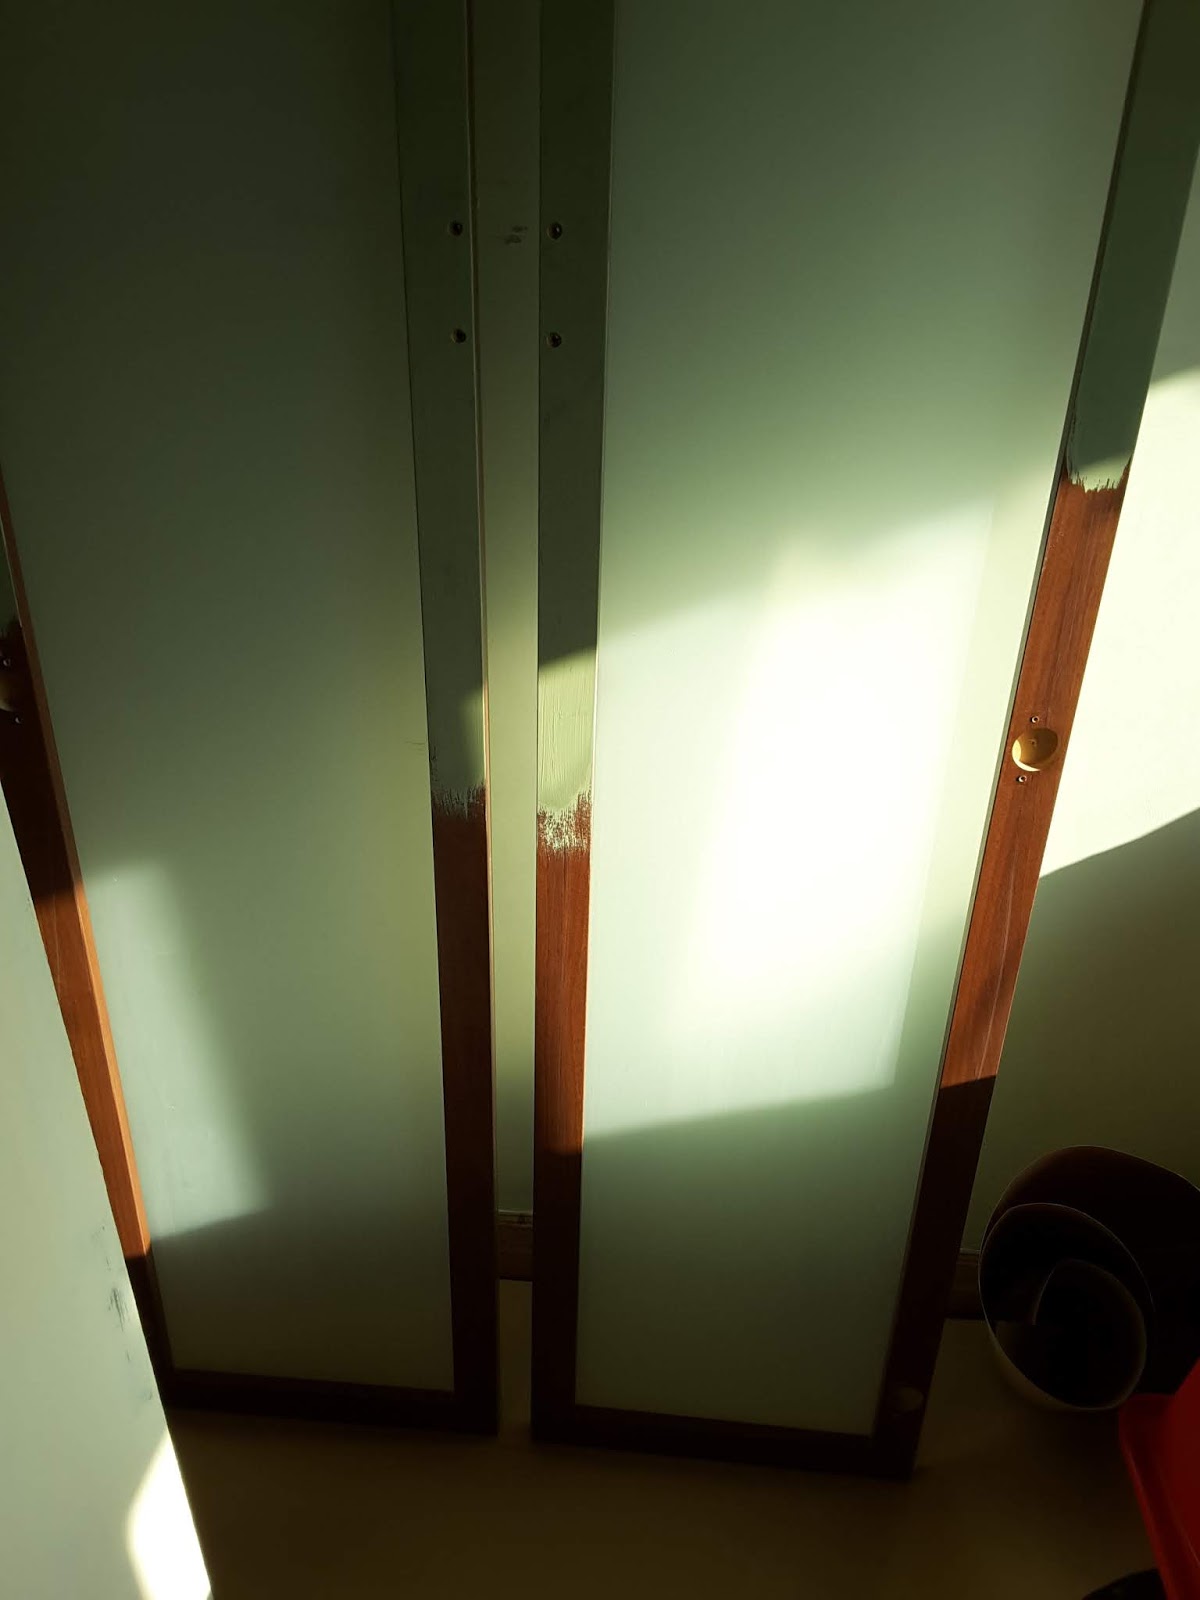
This is one side, as I finished. It's not dry, but you can see the patching. If you try and get this, please don't worry!
After drying fully, the second coat was cream...


I did two coats of cream to cover any patchy-ness...

Once dry, I was about to get sanding again. Well, not really sanding. The best thing for chalk paint and to get the effect you dream of, is to use a damp scouring sponge. It's much softer and blends the paint. I found I had more control too.


Next, the doors. So... painting first. This time, two coats of green only.
Now, as for the glass... I chose to use glass frosting spray and use a willow leaves stencil that I designed and cut.


I masked the glass for the inside wood and thinner outside frame.

And then the glass...

A good clean with bicarbonate of soda and vinegar in water gets rid of any excess paint that's seeped through the masking tape and made sure the glass was prepped ready for the spray.
I used Humbrol white glass etch which is whiter in colour than some frosting sprays. This was better for these doors as the glass I sprayed on was already frosted. I did struggle to find and buy it though- not sure if they make it any more?? Ebay came to the rescue after I'd emptied the can I had in the shed.
So, once dry and put back in place, the doors look like this...


Now for inside...
Before it had a hanging rail and a high shelf. I wanted to add more storage space to replace the drawers I was removing from the room. Luckily, R found some strong chipboard and an old shelf in our shed. They just needed some TLC. Add some old fabric samples and...


...perfect!
Some storage baskets are needed still, but it's almost there. Watch this space for updates and the perfectly organised interior 🤞

So pleased so far with the change. Surprising how a modern MDF piece of fitted furniture can be adapted into something far more beautiful with a little patience and thought.
Let me know if you have done anything similar. I'd love to hear about it!
Deb x
I would have blogged as I went along, as it took some time, but it was a surprise i wasn't expecting to reveal for quite some time. However, H ended up surprising me too (from the other side of the world!) and the reveal came sooner than I thought.
So, the old PAX wardrobe, with laminated chipboard, was ok but not quite right for what we would like. Wardrobes are so expensive and nowhere near as tall or a spacious as this one. I had to do something - or at least try. I had nothing to lose.
I decided that I wanted to paint it with chalk paint. I already had cream and green from a previous project, but that fitted the room beautifully. I wanted to create a vintage travel "mash" througnout the room.
I had already sewn a Roman blind using Laura Ashley's Garden Birds fabric...

It opened up the room, which had previously had curtains across the window wall. Now there was extra wall space for un-hung pictures. The blue curtain pole was also chalk painted and sanded back to soften the blue.

As you will see, the walls and picture rail of the room were already cream and green. I only really wanted to freshen it up and it was more about the furniture and providing extra space by removing a set of drawers and adding additional storage in the wardrobe for the contents of them (a real challenge for the mum of a daughter who hoards!).
Now to the wardrobe. Sadly, I forgot to take a photo before I hit the paint pots, but you will see the laminate as I post the step by step progress. I removed the glass doors before I started.
I was dubious that I could paint on laminate, but YES YOU CAN! Just a light sand to help with grip, then paint away...

Green was my undercolour. I had sanded with a hand held sander, using a light weight sheet. It was much quicker. I also didnt fuss if I missed bits. It made no difference to the outcome.
Painting was easy and coverage was ok too. At the end of the day, the undercolour was there to peek through the top coat, so again, if patchy, it didn't matter.

This is one side, as I finished. It's not dry, but you can see the patching. If you try and get this, please don't worry!
After drying fully, the second coat was cream...


I did two coats of cream to cover any patchy-ness...

Once dry, I was about to get sanding again. Well, not really sanding. The best thing for chalk paint and to get the effect you dream of, is to use a damp scouring sponge. It's much softer and blends the paint. I found I had more control too.


Next, the doors. So... painting first. This time, two coats of green only.
Now, as for the glass... I chose to use glass frosting spray and use a willow leaves stencil that I designed and cut.


I masked the glass for the inside wood and thinner outside frame.

And then the glass...

A good clean with bicarbonate of soda and vinegar in water gets rid of any excess paint that's seeped through the masking tape and made sure the glass was prepped ready for the spray.
I used Humbrol white glass etch which is whiter in colour than some frosting sprays. This was better for these doors as the glass I sprayed on was already frosted. I did struggle to find and buy it though- not sure if they make it any more?? Ebay came to the rescue after I'd emptied the can I had in the shed.
So, once dry and put back in place, the doors look like this...


Now for inside...
Before it had a hanging rail and a high shelf. I wanted to add more storage space to replace the drawers I was removing from the room. Luckily, R found some strong chipboard and an old shelf in our shed. They just needed some TLC. Add some old fabric samples and...


...perfect!
Some storage baskets are needed still, but it's almost there. Watch this space for updates and the perfectly organised interior 🤞

So pleased so far with the change. Surprising how a modern MDF piece of fitted furniture can be adapted into something far more beautiful with a little patience and thought.
Let me know if you have done anything similar. I'd love to hear about it!
Deb x
Comments
Post a Comment